It’s a bittersweet time of year. Frost has put to rest another growing season. It is a time for endings as we clean up the garden and jot down this year’s successes and failures. It is also a time for new beginnings, such as planning and anticipating next year’s garden.
For those who love gardening, the season does not have to end when the cold arrives. The chilly, late-season air is perfect for getting outside and beginning garden projects like building a raised bed garden. A little work now will go a long way come spring.
Why Raised Beds
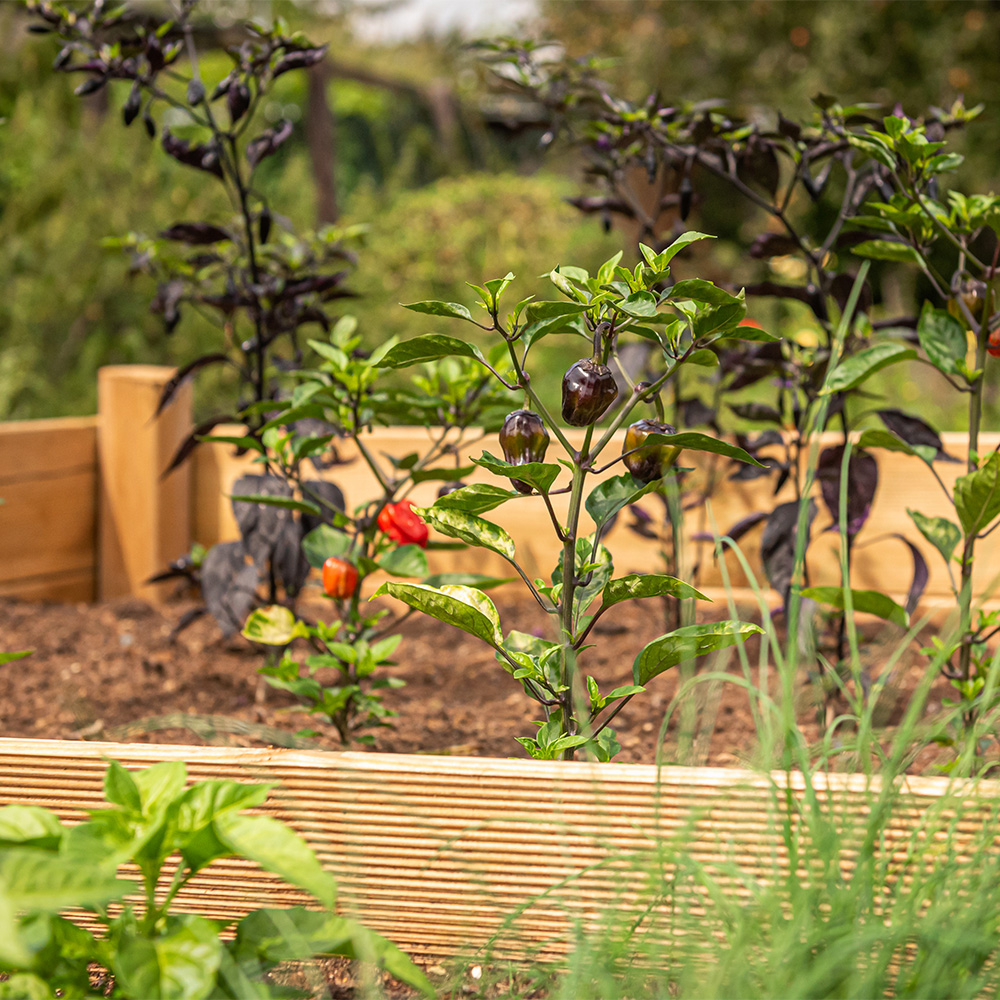
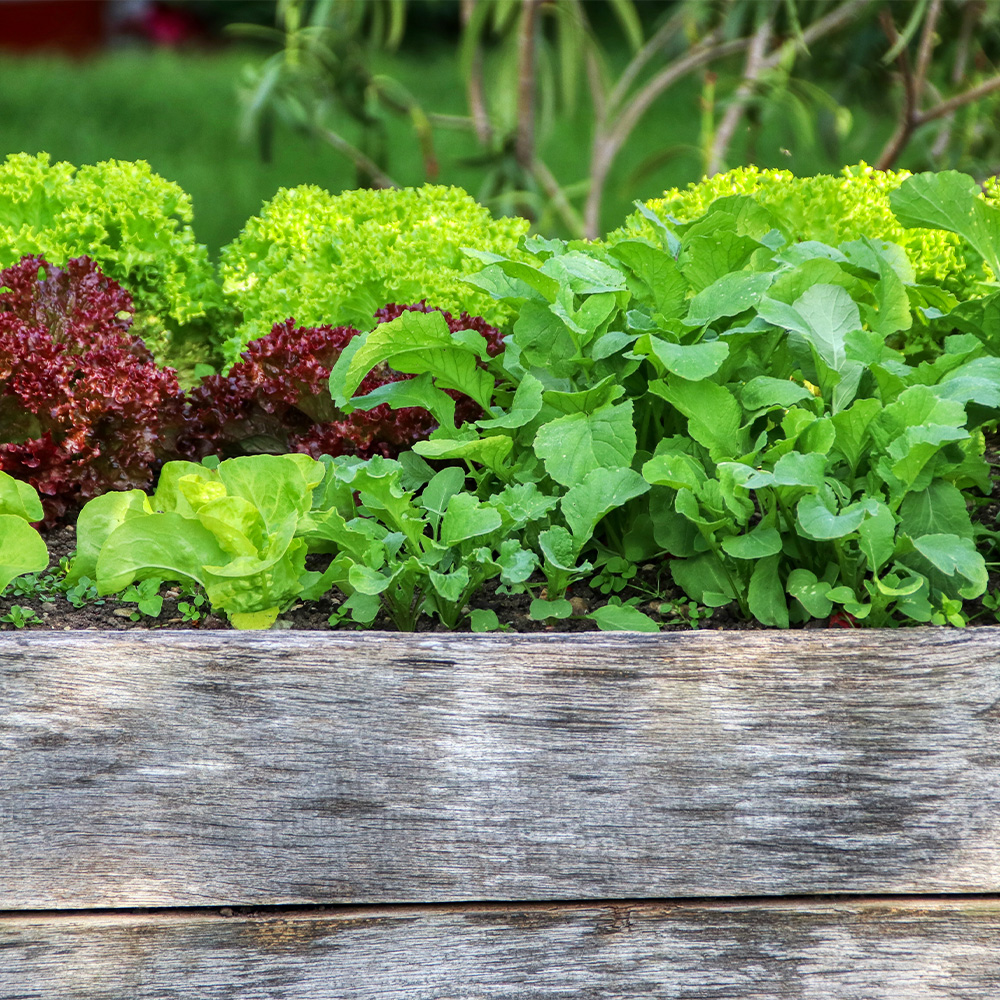
Just about any plant that is grown in an in-ground garden may be cultivated in a raised bed; this includes flowers, fruits, vegetables, and herbs. Raised bed gardening offers several advantages over growing in the ground; these include:
- Improved soil conditions
- Earlier planting
- Easier maintenance
- Decreased garden pests
- Higher crop yield
Building a Simple Raised Bed
Raised beds are available in various styles, materials, and sizes. They may be purchased complete or in DIY kits. If, however, you are adventuresome and thrifty, building your own raised garden bed from scratch is the way to go.
A home-built raised bed can be made to any size you choose; however, it is best to build the bed no wider than 4 feet. Optimal for ease of planting and maintaining, a raised garden of 4 feet wide will ensure you will never have to stretch further than 2 feet into the bed, a comfortable reach for most.
Materials for a Simple DIY 4′ x 8′ Raised Bed
A 4′ x 8′ raised garden bed is a perfect size. It will provide plenty of room to grow a variety of vegetables, including peppers, tomatoes, lettuce, carrots, radishes, cucumbers, and more. Whereas lettuce only requires a 6-inch soil depth to accommodate its root system, tomatoes, kale, cucumbers, squash, and zucchini need about 16 inches. We recommend building your bed at least 18 inches deep to accommodate plants with a heftier root system.
Note: All wood is not equal. For your bed’s longevity, we recommend using either cedar or white oak. We do not recommend using pressure-treated lumber for a raised bed where edibles will be grown.
Materials
6 pieces of 2” x 10” x 8′ boards
4 pieces of 2” x 2” x 24′ wooden stakes
Deck screws
Table Saw
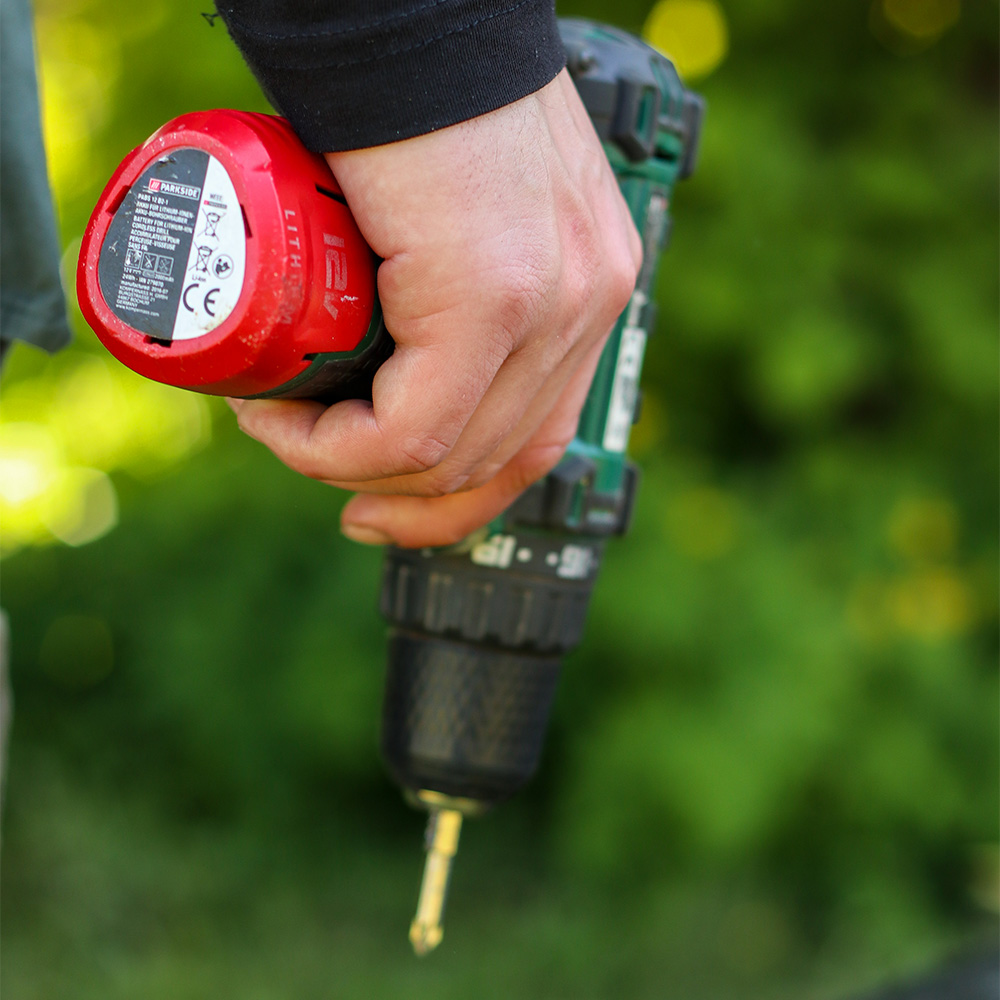
Electric Drill
Electric Screwdriver
Let’s Prepare
- Gather your supplies and tools, borrowing tools if necessary.
- Select a full sun site with level ground convenient to a water source.
- If the selected site is lawn, mow it short and cover it with landscape fabric or a thick layer of cardboard or newspaper to help suppress weeds.
- To save time and energy, work directly in the area where the raised bed will be situated.
Let’s Build
- Cut 2 of the boards in half, creating four 4′ pieces. Leave the remaining four boards uncut at 8′.
- Form a rectangular frame with 2 of the 4′ boards and 2 of the 8′ boards.
- Pre-drill screw holes that will be used to secure the corners – 4 per corner.
- Fasten the boards together with the deck screws.
- Repeat with the remaining boards.
- Lay one frame over the selected site.
- Mark the 2” x 2” x 24” stakes with a line 8 inches from the pointed tip of the stake.
- On the inside of one of the corners of the frame, pound a 2” x 2” stake into the ground up to the 8” line. This will leave 16 inches above the ground.
- Insert a stake directly inside the frame at the remaining three corners of the bed and pound them into the ground at the 8” line.
- With the deck screws and drill, secure the frame to the stakes.
Preparing The Raised Bed
Fill
Now is not only the perfect time to build a raised bed but to fill it as well with high-quality topsoil amended with plenty of compost. YOUR GARDEN CENTER will assist you in calculating the amount of soil your specific bed size requires.
Feed
Organic fertilizers are naturally slow-release. Fertilize your raised bed at soil filling time, and it will be perfect for planting come spring. Select a fertilizer specifically recommended for the crop that you will be growing.
Protect
Soil should never be left exposed to the elements. Be sure to cover your prepared raised bed soil during the winter. Place a thick layer of salt marsh hay, straw, or leaves atop your soil and leave it in place until ready to plant in the spring.
Late fall and early winter are the perfect times to build and fill a raised bed. Addressing this late-season chore will keep you gardening in the colder months, assuring that your muscles remain active and will leave you with a lighter workload when spring arrives.


